How to Fill in the Russian Visa Application
How do I fill in a Russian visa application?
• Russian visa applications should we filled in on the official website of the Russian Consulate https://visa.kdmid.ru/PetitionChoice.aspx
• You will need your passport and a visa invitation letter to fill in the visa application
• The Institution or hotel to be visited, your reference number and confirmation number are all printed on your visa invitation
To apply for your Russian visa you will need to fill out a Russian visa application on the official Russian Consulate website: https://visa.kdmid.ru/PetitionChoice.aspx
Though most of the fields in the application are quite easy to fill in, we prepared a quick guide to clarify the questions that might be a little difficult or confusing.
Page 1 - Choose your country and language
To start filling out your visa application, first choose the country where you are going to apply for your Russian visa and the language you prefer to see for completion hints and descriptions on the online application.
Please note that whichever language you choose, you must still answer all the questions only in English and use only Latin-alphabet characters.
After selecting the country and language, please click the “Complete new application form” button on the bottom of the page.
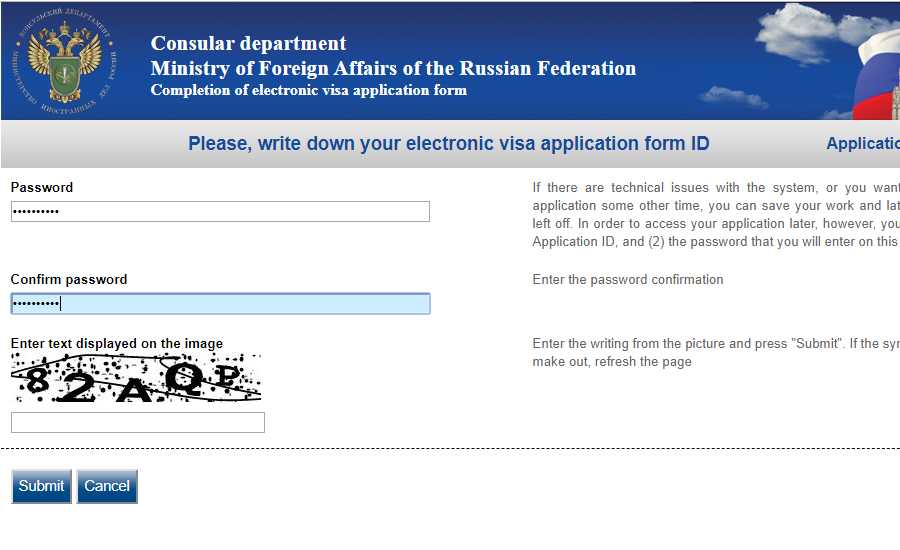
Page 2 - Set your password
On the next page, you are asked to create a password to access your visa application form in the future.
Please do not forget to write down your Application ID displayed in the upper right corner of the page and also to remember your password.
Page 3 - Visa type and the number of entries
The next pages of the visa application require your personal information and trip details.
If you are using a tourist visa invitation to apply for your visa, please fill in the application according to the sample below:
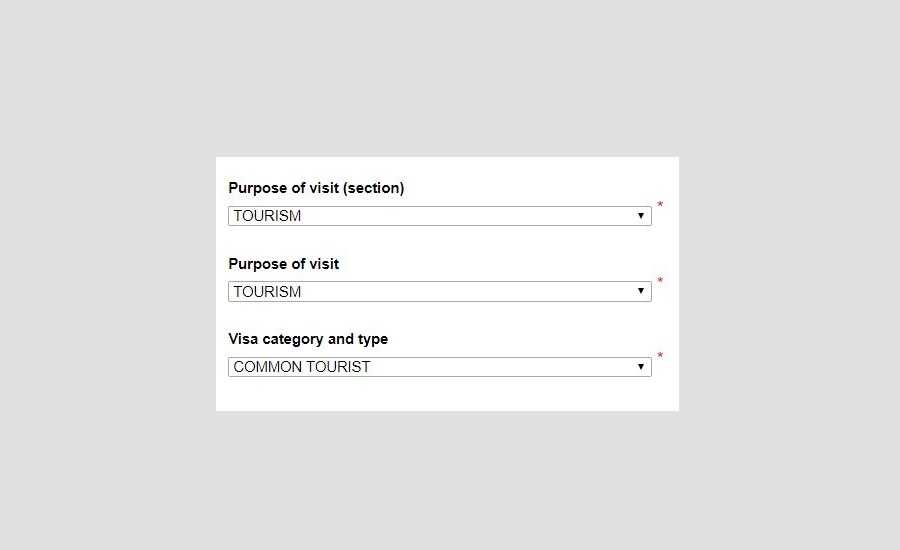
Here you also need to select if you are applying for a single, double or multiple entry visa.
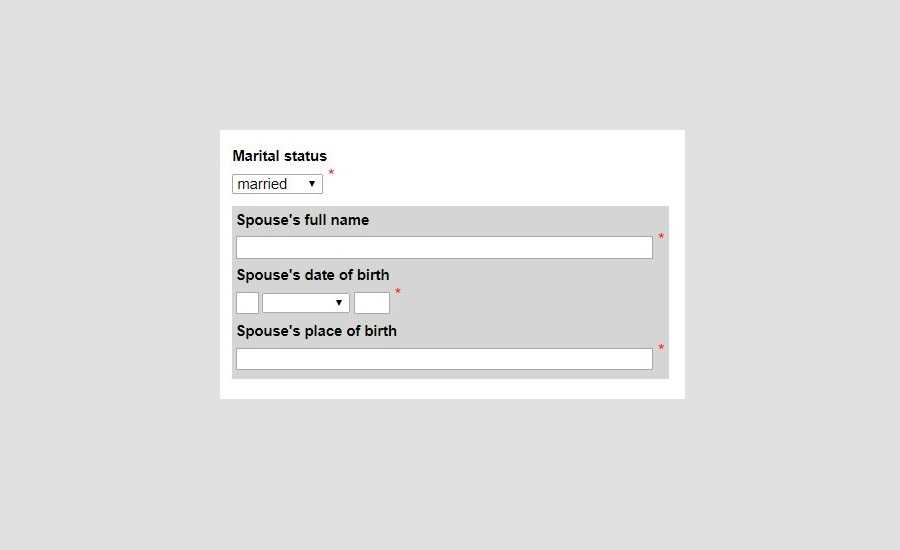
Page 4 - Personal data and marital status
The next page requires your passport data. Please fill in your personal data according to your passport, including all your surnames and middle names listed there. If you are or have been married, please fill in your spouse's personal data as it is listed in his or her passport.
Page 5 - Passport data
Please proceed to the next page and fill in your passport number, issuance and expiration dates of the passport and issuing authority.
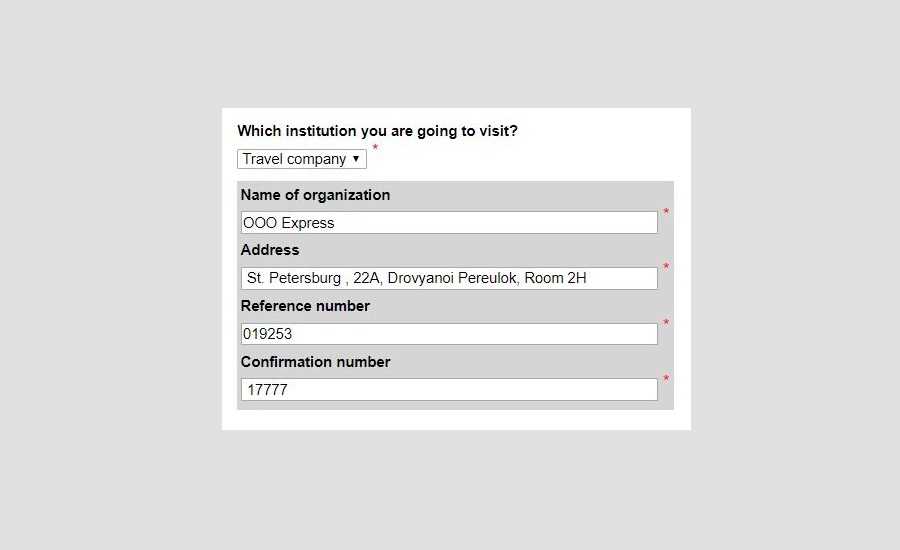
Page 6 - Inviting organization
The next page requires information about the travel company inviting you to visit Russia. You can find all of this information on your visa voucher (also called a Visa Invitation). The Reference number is the Rostourism register number written after the letters, “RTO”. This number contains 6 digits. The Confirmation number is the number of your voucher.
The screenshot below is just an example. Please use information indicated in your visa voucher.
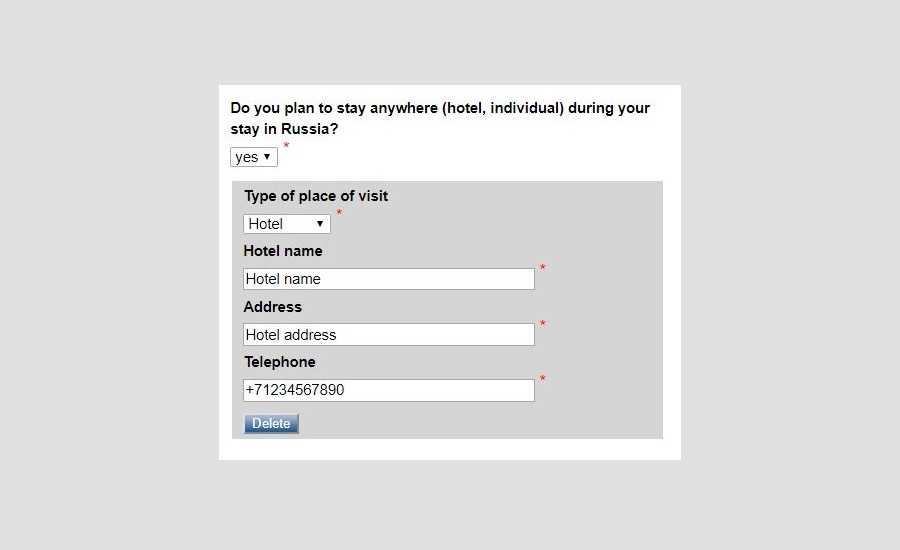
Itinerary in Russia
Further on, you are asked to describe your itinerary in Russia. The Voucher only allows you to enter 5 cities. Please only write the cities and hotels mentioned on your voucher.
Page 7 - Additional information
Please choose Yes or No answers on the next page of the application and proceed to the Education and Work experience page.
Page 8 - Education and Work experience
The form asks you to provide information on the last 2 educational institutions you have attended excluding secondary school and your last 2 places of employment before entering your current job.
Page 9 - Previous visas and trips
On the next page, you should enter information on all of the previous Russian visas that have been issued to you and all of the countries you have visited in the past ten years. Please note that you should only enter one visit per field.
Page 10 - Parents' data
The next part of the form requires that you enter your parent’s personal data and your current employment details and home address.
Page 11 - Choose the consulate or visa application centre
Please proceed to the next step where you are required to select the location from which you are planning to apply for your Russian visa. It can either be a Russian Consulate in your country or an officially approved Visa application center. If you are applying through a 3rd Party visa service, please ask them which option you should choose.

Page 12 - Verify the information
For the last step you are asked to verify all of the information in your visa application and to edit any pages where there may be inaccuracies. Please check all of the data carefully and proceed to the next page. You won’t be able to edit it once you proceed to print or download the application form. Please note that your visa application will be stored for 30 days only. After that time you will have to fill it out once again.
And the very last step
After you print your visa application, please glue a 3.5*4.5 cm photograph which was taken no longer than 6 ago to the special field at the bottom of the 1st page, write the current date and sign the form.
Good luck with your visa application and see you in Russia!